Artwork & Prepress · 7 min read
Preparing artwork for custom printed boxes
Dielines, bleed, color, resolution and finish layers. What print-ready packaging artwork looks like and how to get there from a logo.
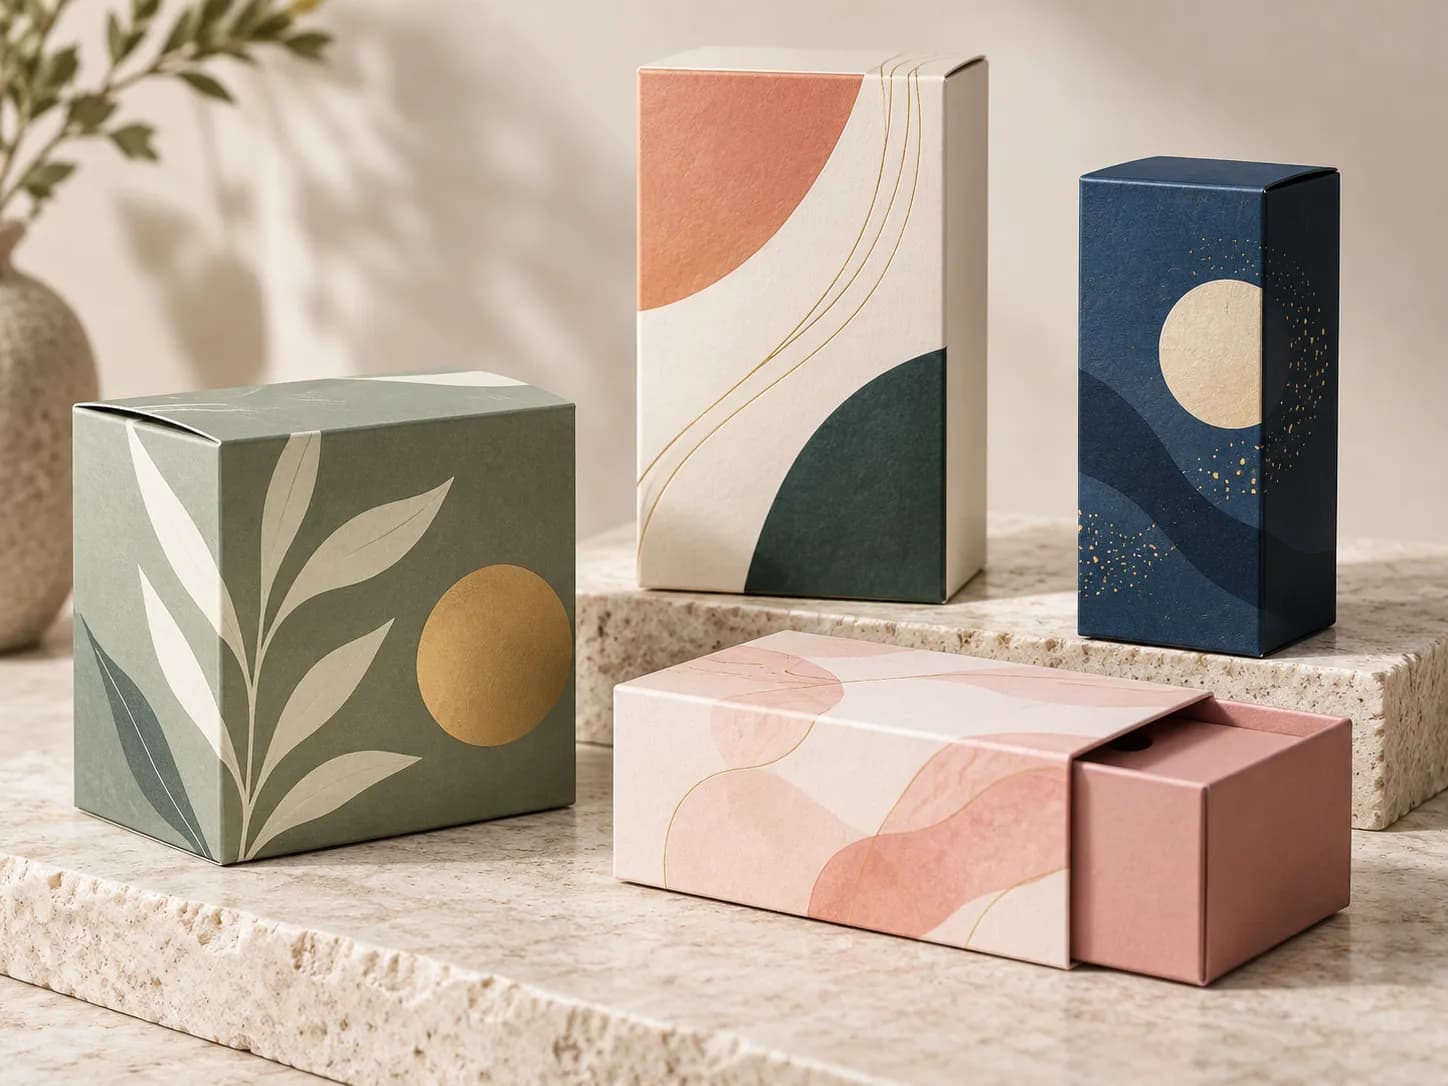
The short answer
Print-ready packaging artwork is built on the dieline supplied for your specific box: vector artwork placed on the flat layout, bleed carried past every trim edge, images at 300 dpi at final size, fonts outlined, and CMYK or named Pantone colors rather than RGB. Finishes such as foil, spot UV and emboss go on their own named layers as solid shapes. Start from the dieline, not from a logo file.
Packaging artwork is different from a flat print job: it wraps around folds, it has to survive being cut, and finishes like foil and spot UV need their own layers. None of it is difficult, but it helps to know what a print-ready file contains before you start — or to know what to send us if you would rather we build it.
Start from the dieline
A dieline is the flat drawing of the box: every panel, fold and cut line, at actual size. We issue it once the structure and dimensions are agreed. Artwork is laid onto it, panel by panel, so that what prints on the front is on the front when the box is folded. Work on a copy; keep the dieline on its own locked layer and never rasterise it.
Bleed and safe area
Extend background color and images past the cut line — typically an eighth of an inch (3mm) — so a fractional shift on the cutter does not leave a white edge. Keep text and logos inside a safe area the same distance in from the cut and fold lines. Folds are not perfectly sharp; do not place fine type across them.
Color
Build artwork in CMYK. If a brand color must match exactly, specify it as a Pantone spot and we print it as a separate ink. Bright oranges, deep blues and metallics are the colors CMYK reproduces least faithfully; they are the ones to consider as spot colors or foil. Rich black for large dark areas should be built as a mix, not 100% K alone.
Resolution and format
- Vector artwork (AI, PDF, EPS) for logos, type and shapes.
- Images at 300 dpi at actual size, embedded or linked.
- Fonts outlined or embedded.
- One PDF per artwork version, with the dieline on a separate layer.
Finish layers
Foil, spot UV, embossing and debossing each need a separate layer showing exactly where the finish goes, as solid vector shapes in 100% of a spot color named for the finish (FOIL, SPOT UV, EMBOSS). Keep them in register with the print artwork. Avoid hairlines and very small type in foil and emboss — the die cannot hold them.
Regulatory and variable content
Barcodes need a quiet zone and should print in a dark color on a light background; ingredient panels, warnings and batch areas need to stay legible at the printed size. If names change per version — scents, shades — set the common artwork once and supply the variable text separately.
If you only have a logo
That is a normal starting point. Send the logo as a vector file, your brand colors and any references you like, and our design team lays out the artwork on the dieline, prepares the finish layers and sends a proof. You approve the proof before anything prints.
Questions
Related questions.
Anything not covered here, put it in the notes on your quote and we will answer it directly.
Ask on your quoteWhat file format do you need?
Vector PDF, AI or EPS with fonts outlined, images at 300 dpi and the dieline on its own layer.
Can you design the artwork for me?
Yes. Send a logo, brand colors and references and our design team prepares print-ready artwork on the dieline for your approval.
Will the printed color match my screen?
Screens show RGB; print is CMYK. Critical colors should be specified as Pantone spots. The proof is where color is agreed.
Keep reading
Related guides.

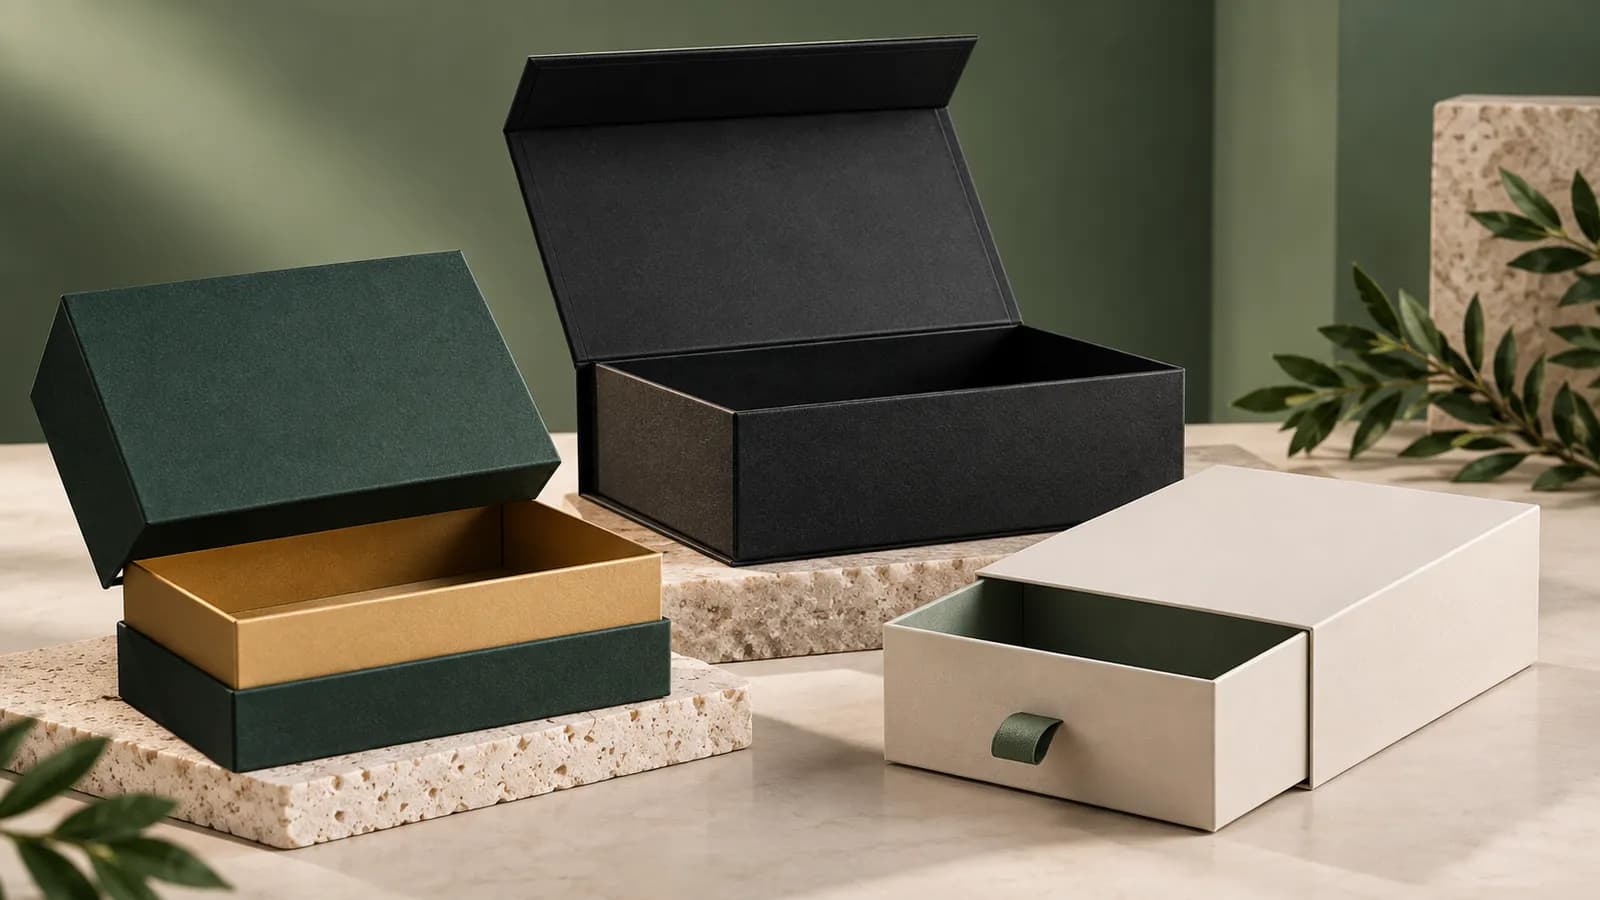
Packaging covered in this guide
Put it into a quote.
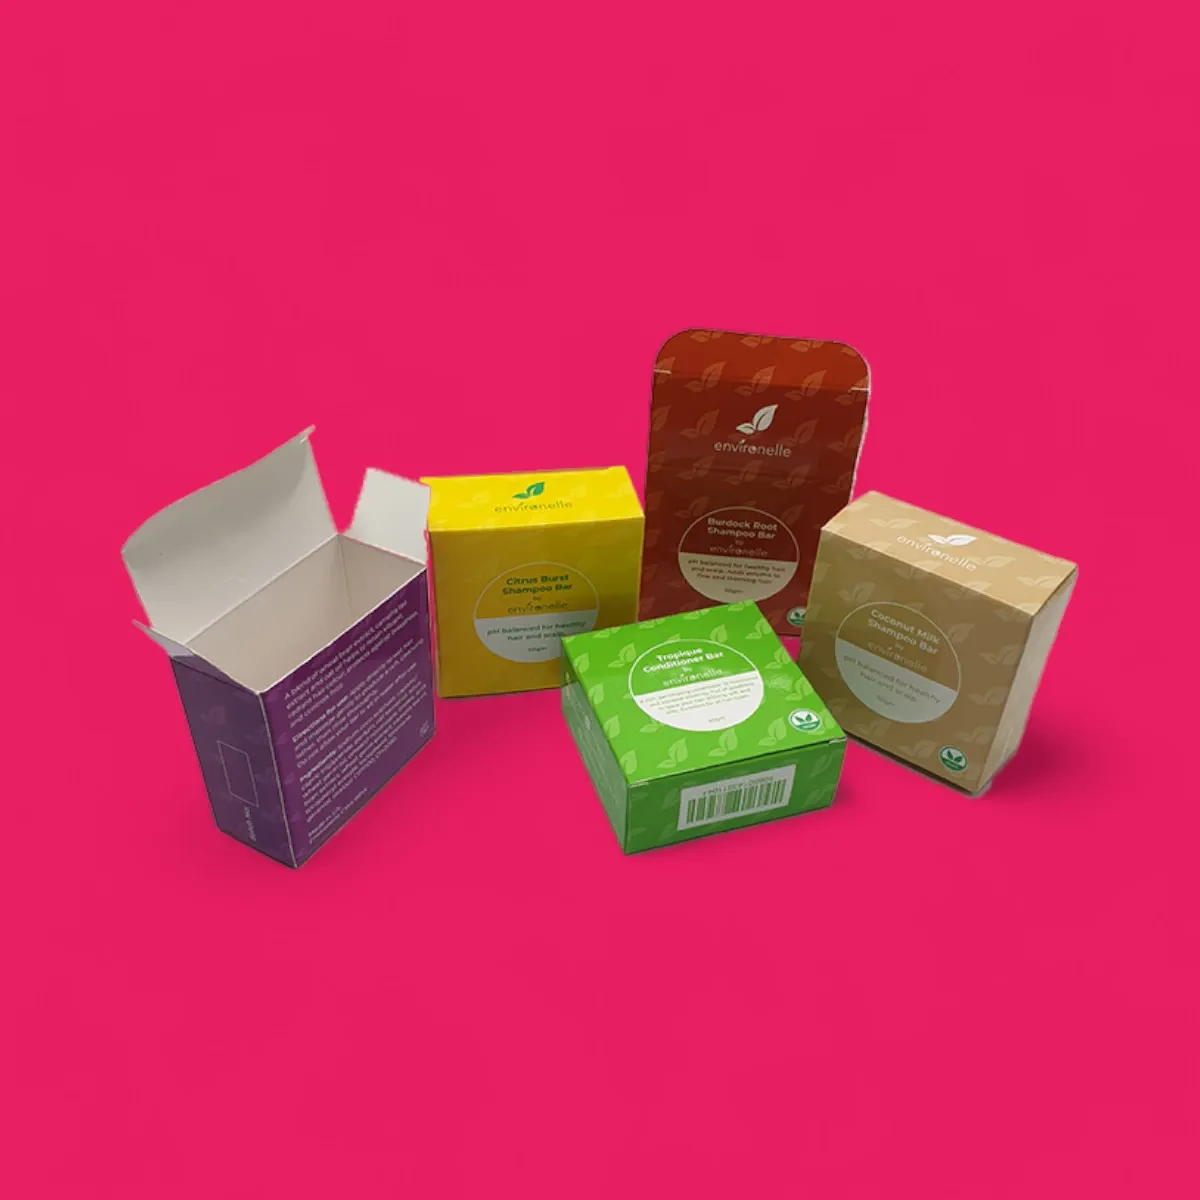
Materials, finishes and industries in this guide
Start here
Send us your dimensions. We’ll send back a box.
Or talk to a packaging specialist: (209) 444-0744